Most binding mistakes happen on the documents that matter, because those are the ones done in a hurry. A repeatable order of operations removes most of the risk.
Before you punch anything
1. Print and check the whole thing first
Punched pages cannot be reprinted and slotted back in with matching holes unless you punch the replacement separately and align it by hand — which is possible and slow. Read the document, or at least check pagination and that no page printed blank, before a single hole is made.
2. Measure the stack
With covers on. Then choose a comb or coil diameter rated slightly above that thickness. A spine at exactly its rated maximum binds tightly and does not turn.
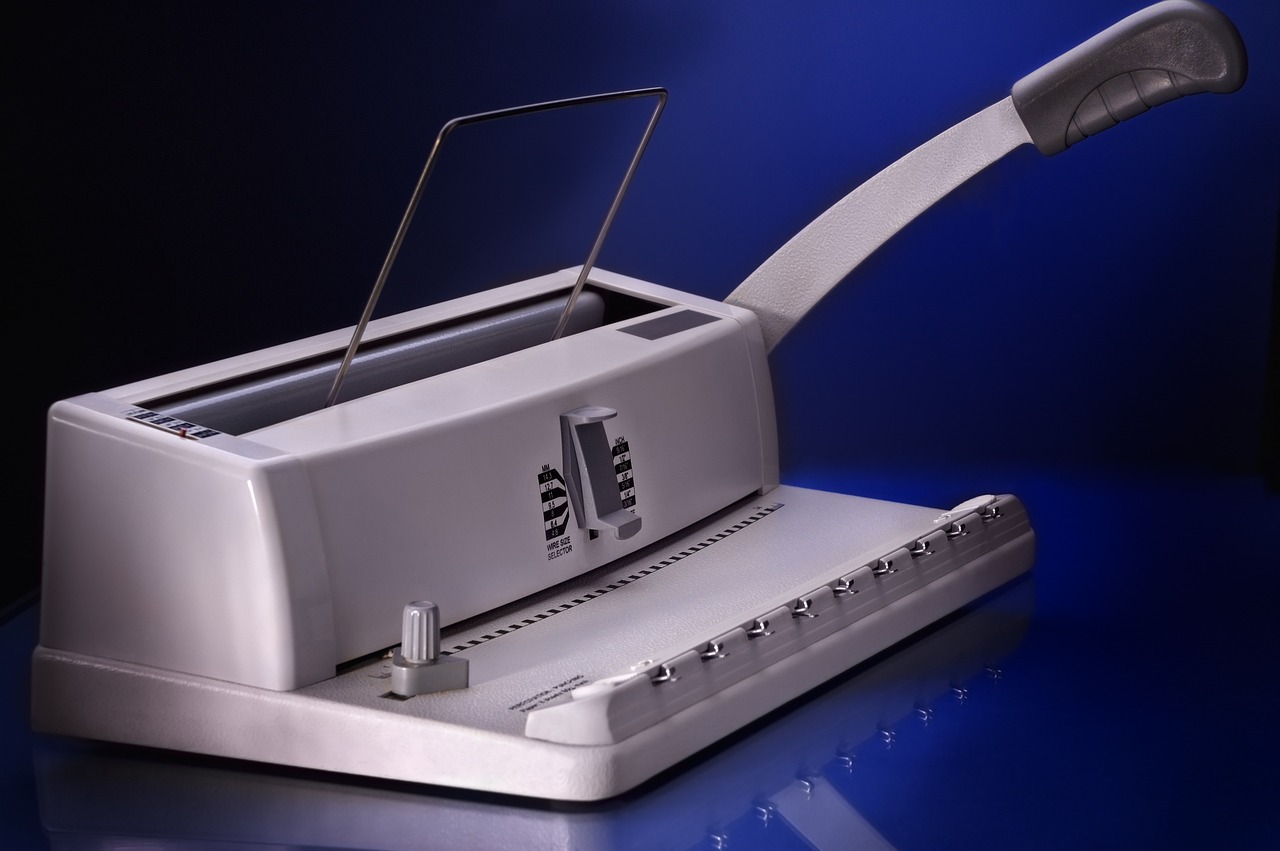
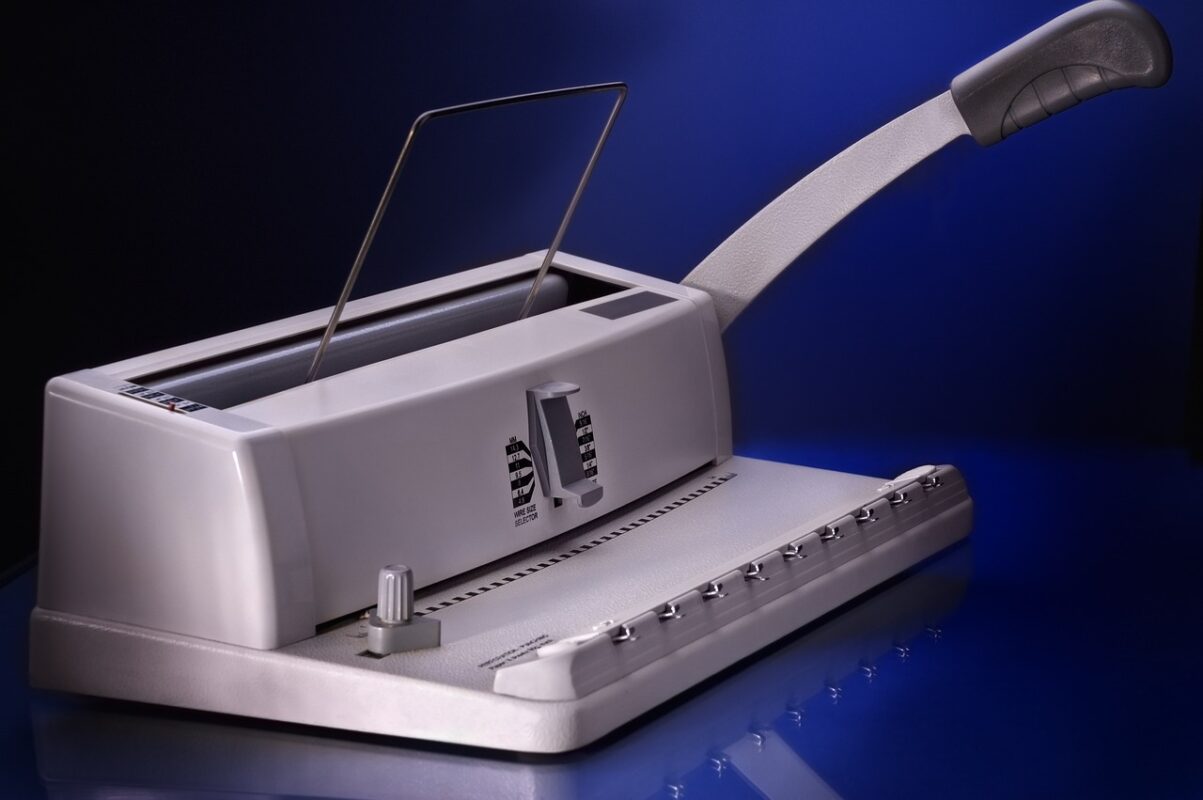
3. Set the margin depth
Deeper for a thick document. If the machine has an adjustment and you leave it on the shallow setting, the outer pages will tear at the holes the first time the document is opened flat.
4. Punch a test sheet
One sheet of scrap, same size as the document. Check the holes are centred and the margin looks right. Thirty seconds here saves the whole job.
Punching
- Consistent stack sizes. If the machine takes 15, punch in stacks of 12. Do not punch 15, then 8, then 15 — inconsistent stacks punch at slightly different depths.
- Square the stack every time against the edge guide before punching. Tap it on the desk first.
- Keep the order. Punched stacks go face down in a pile in sequence. It sounds obvious; it is the most common way a long document ends up out of order.
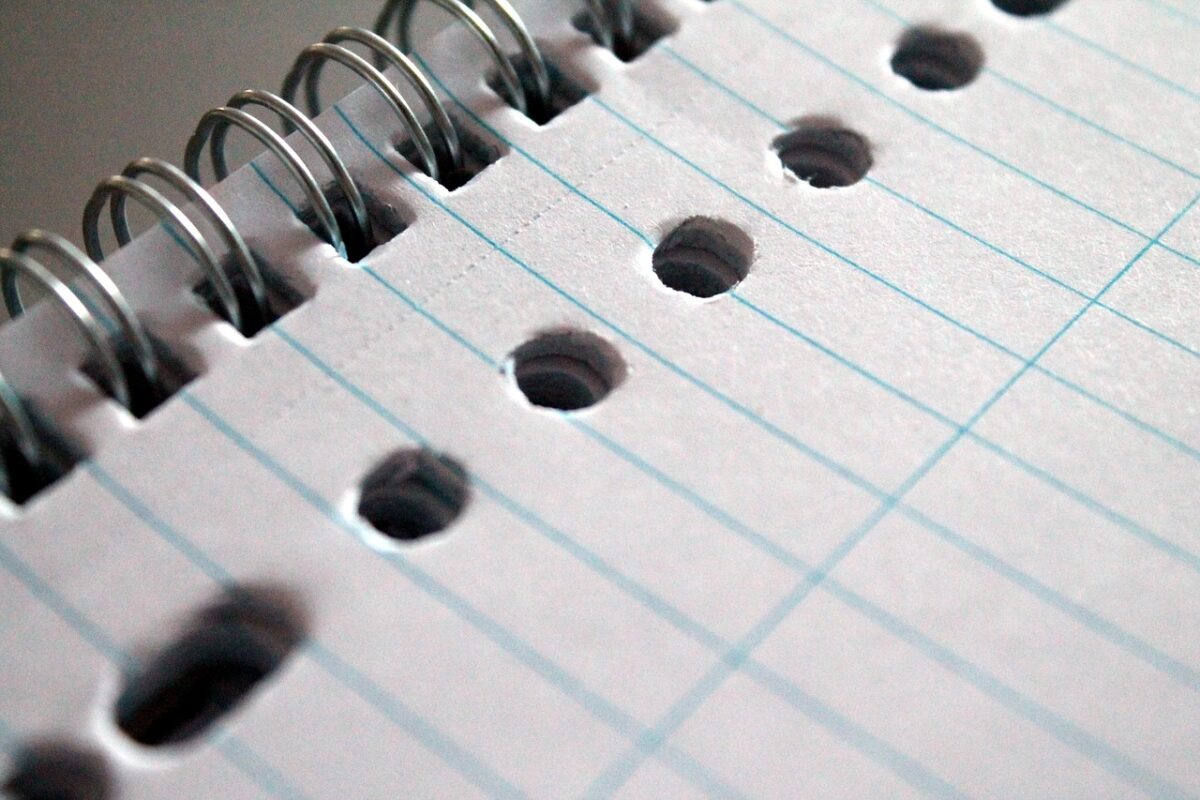
- Empty the chip tray before starting and once during a long run. A full tray gives incomplete punches, and incomplete punches tear.
Covers
Punch the covers separately, one at a time. They are thicker than paper and punching them with the last stack of pages is how you get a crooked cover.
Standard combination: clear front, card back. Check the card back is punched the same way round as the pages — a back cover punched upside down is only visible once bound.
Binding
For comb: open the comb, hang the pages on from the back cover forwards, then the front cover last. Check the whole document hangs freely before releasing the comb.
For coil: feed the coil into the first few holes by hand, then use the roller or the electric inserter. Cut and crimp both ends. Crimp inwards, so the cut end does not catch.
For thermal: tap the document down so every page edge touches the glue channel before it goes in the machine. A page that does not touch the glue does not get bound, and it will fall out in the client’s hands.
Check before you hand it over
- Open it at the middle. Do the pages turn freely, or is the spine too tight?
- Check the first and last page for tearing at the holes.
- Check page order at three random points.
- For coil, check both ends are crimped and no sharp end protrudes.
- Stand it on a desk. A document that will not stand up has the wrong spine for its weight.
Keeping a fallback
If the document is critical, keep the unbound printed copy until the bound one has been checked. Rebinding from a spare stack is quick; reprinting 200 pages is not.
What to have in stock
A range of spine diameters rather than a box of one size. The most common cause of a late-afternoon problem is having only 12 mm combs and a 25 mm document.
Our Punches & Binding Supplies range covers combs, coils and rings in the common sizes. Call the Fort Worth counter if you need a diameter urgently.